Understanding the Biomechanics of 5 Key Yoga Poses for Injury Prevention in 2026
In the evolving landscape of health and wellness, yoga continues to gain widespread popularity. From stress reduction to enhanced flexibility and strength, its benefits are undeniable. However, like any physical activity, yoga, when practiced incorrectly, can lead to injuries. This is where a deep understanding of Yoga Biomechanics Injury Prevention becomes not just beneficial, but essential. As we look towards 2026 and beyond, the emphasis on safe and sustainable practice is paramount. This comprehensive guide will delve into the biomechanical intricacies of five fundamental yoga poses, providing insights and actionable advice to help you cultivate a resilient, injury-free practice.
The Foundation of Safe Practice: What is Yoga Biomechanics?
Biomechanics is the study of the mechanical laws relating to the movement or structure of living organisms. In the context of yoga, it involves understanding how our skeletal system, muscles, ligaments, and tendons interact to create movement and maintain stability in various postures. By applying biomechanical principles, we can optimize alignment, reduce undue stress on joints, and engage muscles more effectively, thereby significantly contributing to Yoga Biomechanics Injury Prevention.
Many common yoga injuries stem from a lack of awareness regarding proper alignment, overstretching, or forcing the body into positions it’s not yet ready for. Understanding the ‘why’ behind specific alignment cues can transform your practice, moving it from mere imitation to informed, intelligent movement. This knowledge empowers practitioners to listen to their bodies, modify poses when necessary, and build strength and flexibility safely over time. This proactive approach is key to long-term health and a sustainable yoga journey.
Why Biomechanics Matters for Every Yogi
Whether you’re a seasoned practitioner or a beginner, integrating biomechanical awareness into your yoga practice is crucial. For beginners, it lays a strong foundation, preventing the development of poor habits that could lead to injury down the line. For experienced yogis, it offers an opportunity to refine their practice, explore deeper variations safely, and address persistent aches or limitations. It’s about moving with intelligence and intention, rather than just going through the motions.
Consider the cumulative effect of improper alignment. A slight misalignment in a pose, repeated hundreds of times over months or years, can lead to chronic pain, joint degeneration, or muscle imbalances. Conversely, a practice grounded in sound biomechanics fosters physical resilience, enhances proprioception (body awareness), and facilitates a more profound connection between mind and body. This holistic approach is at the core of effective Yoga Biomechanics Injury Prevention.
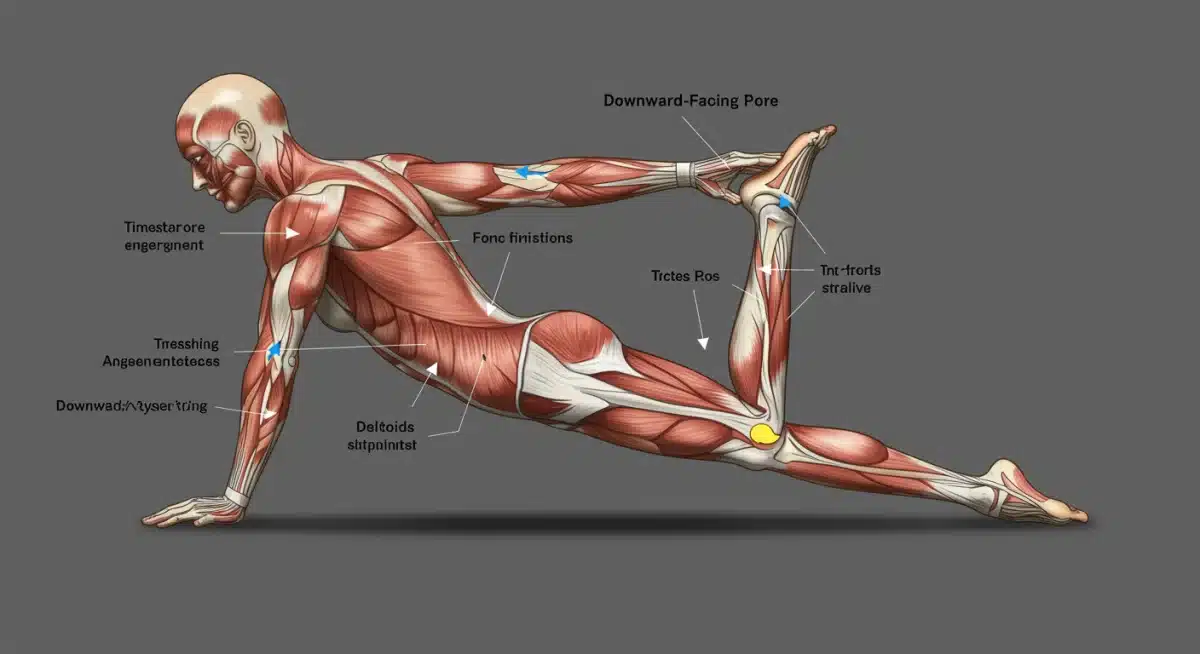
Pose 1: Downward-Facing Dog (Adho Mukha Svanasana)
Downward-Facing Dog is arguably one of the most recognized and frequently practiced yoga poses. It’s an inversion, a stretch, and a strengthening posture all in one. However, its ubiquitous nature often leads to misinterpretations and potential for injury, particularly in the wrists, shoulders, and lower back.
Biomechanical Breakdown of Downward-Facing Dog:
- Hands and Wrists: The foundation begins here. Spread your fingers wide, root down through your knuckles, especially the index finger knuckle and thumb. This distributes weight evenly across the palm and protects the wrists. Avoid collapsing into the wrists; instead, imagine lifting the forearms slightly, engaging the muscles of the hands and arms.
- Shoulders: The goal is to create space and stability. Externally rotate the upper arms, drawing the shoulder blades down the back and slightly away from the ears. Avoid shrugging the shoulders up towards the ears, which compresses the neck. The arms should form a straight line from the wrists to the shoulders, with the elbows softly bent, not locked.
- Spine: The spine should be long and neutral. The common mistake is rounding the back or hyperextending it. To achieve a long spine, tilt the pelvis forward (anterior tilt) by lifting the sit bones towards the ceiling. If your hamstrings are tight, bend your knees generously to allow the spine to lengthen.
- Hips and Legs: Lift the sit bones high, aiming to create an inverted ‘V’ shape. The legs should be active. If hamstrings are tight, bending the knees is crucial to protect the lower back and allow for spinal lengthening. Press the heels towards the mat, but don’t force them down if it causes rounding in the back.
Common Mistakes and Injury Prevention:
- Wrist Pain: Often due to insufficient weight distribution. Press firmly through the base of the fingers and knuckles.
- Shoulder Impingement: Caused by shrugging shoulders or internally rotating the arms. Focus on external rotation and drawing shoulder blades down.
- Lower Back Strain: Typically from a rounded spine due to tight hamstrings. Bend your knees deeply to prioritize spinal length.
By understanding these biomechanical nuances, you can transform your Downward-Facing Dog from a potentially straining pose into a restorative and strengthening one, a key aspect of Yoga Biomechanics Injury Prevention.
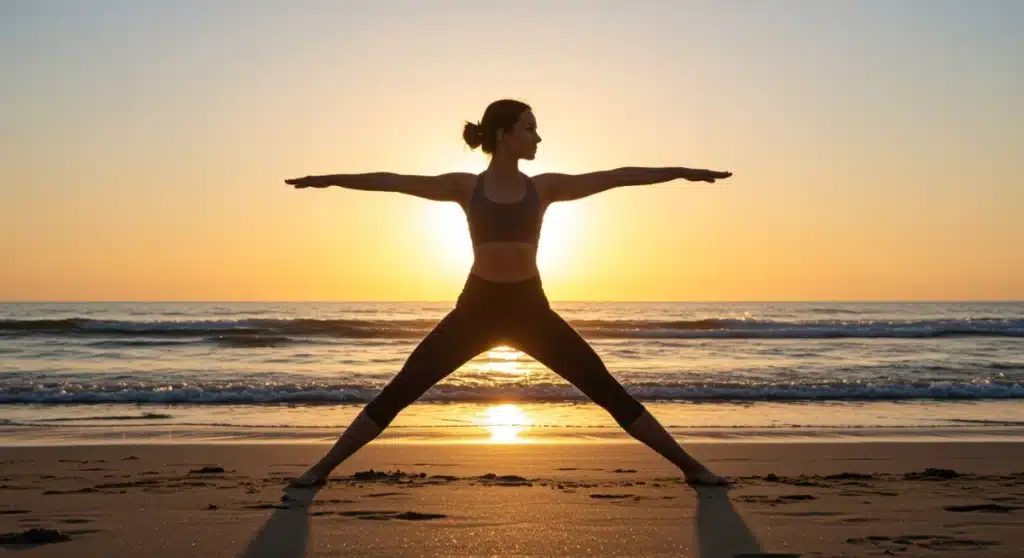
Pose 2: Warrior II (Virabhadrasana II)
Warrior II is a powerful standing pose that builds strength, stamina, and concentration. It targets the legs, core, and shoulders, but improper alignment can strain the knees, hips, and lower back.
Biomechanical Breakdown of Warrior II:
- Feet and Legs: The front foot points straight forward, with the heel aligned with the arch of the back foot. The front knee is bent directly over the ankle, with the shin perpendicular to the floor. Crucially, the front knee should track in line with the second and third toes to protect the knee joint. The back leg is strong and straight, with the outer edge of the back foot pressing firmly into the mat. Engage the thigh muscles of both legs.
- Hips: The hips should be relatively open, but not forced. The pelvis is square to the side of the mat. Avoid letting the front hip ‘hike up’ or the back hip ‘tuck under’ excessively.
- Torso and Core: The torso is upright and centered over the pelvis, not leaning forward or backward. Engage the core muscles (abdominal and back muscles) to support the spine and maintain stability.
- Arms and Shoulders: Extend the arms straight out from the shoulders, parallel to the floor, palms facing down. Shoulders are relaxed and down, away from the ears. Gaze is over the front fingertips.
Common Mistakes and Injury Prevention:
- Knee Pain: Often caused by the front knee collapsing inward or extending past the ankle. Ensure the knee tracks over the second/third toe and is stacked directly above the ankle.
- Hip Strain: Forcing hip opening can lead to strain. Allow the hips to open naturally; don’t push beyond your current range of motion.
- Lower Back Compression: Leaning too far forward or backward. Keep the torso upright and core engaged.
Mastering Warrior II requires a balance of strength and flexibility, with a keen eye on alignment for optimal Yoga Biomechanics Injury Prevention.
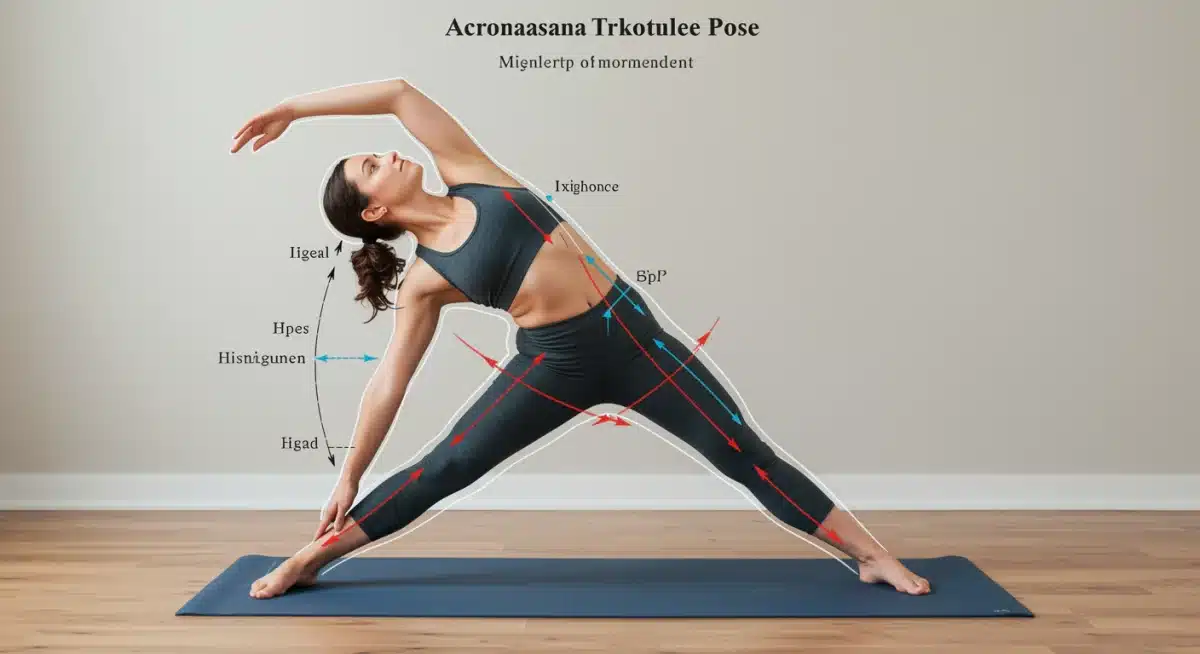
Pose 3: Triangle Pose (Trikonasana)
Triangle Pose is a deep lateral stretch that lengthens the hamstrings, opens the hips, and strengthens the core. It’s deceptively simple but requires precise alignment to avoid strain in the lower back, neck, and hamstrings.
Biomechanical Breakdown of Triangle Pose:
- Feet and Legs: Similar to Warrior II, the front foot points forward, and the back foot is angled slightly inward. The legs are straight but not locked, with engaged thigh muscles. Ground down through both feet evenly.
- Hips: The key here is to initiate the movement from the hips, not the waist. Imagine drawing the front hip back and the back hip forward to lengthen both sides of the torso. This creates space in the lower back.
- Torso and Spine: Reach forward with the front arm, lengthening the side body, then hinge at the hip, allowing the torso to descend. The spine should remain long and neutral, avoiding any rounding or excessive arching. The bottom hand can rest on the shin, ankle, or a block; avoid placing it directly on the knee.
- Arms and Shoulders: The top arm extends towards the ceiling, aligning with the bottom arm. Both arms should be in the same plane as the torso. Stack the shoulders one above the other. The gaze can be forward, down, or up, depending on neck comfort.
Common Mistakes and Injury Prevention:
- Lower Back Pain: Often due to rounding the spine or collapsing the side body. Focus on hinging from the hip and maintaining a long spine.
- Neck Strain: Forcing the gaze upwards if the neck is tight. Keep the gaze neutral or down.
- Hamstring Overstretching: Locking the front knee or pushing too deep. Keep a micro-bend in the knee and support the hand on a block if needed.
Triangle Pose is a testament to how subtle shifts in alignment can dramatically impact the pose’s safety and effectiveness, making it a prime example of Yoga Biomechanics Injury Prevention in action.
Pose 4: Chaturanga Dandasana (Four-Limbed Staff Pose)
Chaturanga is a foundational pose in Vinyasa and Ashtanga yoga, acting as a transition that builds immense upper body and core strength. However, it’s also one of the most common sources of shoulder and wrist injuries due to improper execution.
Biomechanical Breakdown of Chaturanga Dandasana:
- Hands and Wrists: Just like Downward Dog, strong hands are crucial. Fingers spread wide, rooting through the knuckles. Wrists should be directly under the elbows when the pose is fully formed.
- Shoulders and Arms: This is where most issues arise. From Plank, shift forward slightly so the shoulders are ahead of the wrists. As you lower, hug the elbows into the sides, keeping them stacked directly over the wrists. The upper arms should remain parallel to the floor, forming a 90-degree angle at the elbows. Avoid letting the shoulders dip below the elbows, which puts immense strain on the rotator cuffs.
- Core and Spine: Engage the core strongly to prevent the hips from sagging or rising too high. The body should form a straight line from the crown of the head to the heels. Avoid arching the lower back or letting the hips drop.
- Legs: Legs are active, pressing back through the heels.
Common Mistakes and Injury Prevention:
- Shoulder Injury (Rotator Cuff): Most commonly from lowering too far, allowing shoulders to dip below elbows, or elbows splaying out wide. Keep elbows hugged in and shoulders no lower than elbows.
- Wrist Pain: Insufficient engagement of hand muscles or improper wrist alignment. Ensure wrists are stacked under elbows.
- Lower Back Strain: Sagging hips due to weak core. Engage core muscles throughout the pose.
If full Chaturanga is too challenging, modify by lowering knees to the ground first, or practice lowering only halfway. Building strength gradually is key for sustainable Yoga Biomechanics Injury Prevention in this demanding pose.
Pose 5: Cobra Pose (Bhujangasana)
Cobra Pose is a gentle backbend that strengthens the spine, opens the chest, and stretches the abdomen. While generally considered safe, improper form can lead to lower back compression or neck strain.
Biomechanical Breakdown of Cobra Pose:
- Foundation: Lie prone on the belly, tops of the feet pressing into the mat. Place hands flat on the mat under the shoulders, fingers pointing forward. Elbows hug into the sides of the body.
- Legs and Hips: Engage the legs actively, pressing the tops of the feet and thighs into the mat. This helps protect the lower back. The pelvis remains grounded.
- Spine: This is a spinal extension. Initiate the lift from the upper back, engaging the erector spinae muscles. Use minimal pressure from the hands; the back muscles should do most of the work. Lift the chest forward and up, keeping the collarbones broad. Avoid pushing up too high with the arms, which can compress the lower back. The curve should be distributed evenly throughout the spine.
- Neck and Head: Keep the neck long, in line with the rest of the spine. Gaze is softly forward or slightly down to avoid crunching the back of the neck.
Common Mistakes and Injury Prevention:
- Lower Back Compression: Pushing too high with the arms, neglecting leg engagement, or arching excessively in one spot. Focus on lengthening the spine as you lift and distributing the backbend evenly.
- Neck Strain: Tilting the head back too far. Keep the neck an extension of the spine.
- Shoulder Shrugging: Allowing shoulders to creep up towards the ears. Draw shoulder blades down the back.
Cobra Pose is about gentle, mindful extension, not about how high you can lift. Prioritizing spinal length and even curve is vital for Yoga Biomechanics Injury Prevention and deriving the full benefits of this pose.
General Principles for Yoga Biomechanics Injury Prevention
Beyond the specifics of individual poses, several overarching biomechanical principles apply to almost all yoga postures, forming the bedrock of a safe and intelligent practice.
1. Listen to Your Body (Proprioception and Interoception)
This is perhaps the most critical principle. Proprioception is your body’s ability to sense its position, movement, and action. Interoception is the sense of the internal state of the body. Developing these senses allows you to identify sensations, distinguish between healthy stretch and pain, and respond appropriately. Ignoring warning signs is a direct path to injury. Embrace modifications and props when needed.
2. Prioritize Stability Before Mobility
Before attempting to deepen a stretch or increase your range of motion, ensure the joint is stable. For example, in standing poses, firmly grounding through the feet and engaging leg muscles creates a stable base. In arm balances, engaging the core and shoulder stabilizers is paramount. A stable foundation protects the joint from excessive strain during movement.
3. Engage Your Core
The core muscles (abdominals, obliques, pelvic floor, and deep back muscles) are the body’s natural stabilizers. A strong and engaged core protects the spine in virtually every pose, from standing postures to inversions and backbends. Learning to activate your core intelligently is a game-changer for Yoga Biomechanics Injury Prevention.
4. Understand Your Anatomical Limitations
Everyone’s body is different. Skeletal variations, past injuries, and current flexibility levels all influence how a pose will feel and look. Forcing your body into an ‘ideal’ shape that doesn’t align with your unique anatomy is a recipe for injury. Embrace modifications and focus on the internal experience of the pose rather than its external appearance.
5. Breathe Mindfully
The breath (pranayama) is integral to yoga. Conscious, deep breathing helps to relax the nervous system, allowing muscles to release tension and facilitating deeper, safer stretches. Holding your breath often leads to tension and can increase the risk of injury, especially in challenging poses. Use your breath as a guide for your movements.
6. Gradual Progression and Patience
Yoga is a journey, not a destination. Progress in flexibility and strength takes time. Resist the urge to rush or compare yourself to others. Gradually increasing the intensity, duration, or depth of poses allows your body to adapt safely, reinforcing the principles of Yoga Biomechanics Injury Prevention.
The Future of Yoga Practice: Informed and Intentional
As we move into 2026, the yoga community is becoming increasingly aware of the importance of an anatomically informed practice. Teachers are receiving more comprehensive training in functional anatomy and biomechanics, and students are seeking a deeper understanding of ‘how’ and ‘why’ they move the way they do. This shift towards an intentional, educated approach is transforming yoga from a purely physical exercise into a truly holistic practice that honors the body’s intelligence.
Embracing Yoga Biomechanics Injury Prevention means taking responsibility for your own practice, becoming an active participant in your learning, and fostering a relationship of respect and understanding with your body. It’s about cultivating strength without strain, flexibility without instability, and a practice that supports you not just today, but for a lifetime.
Conclusion: Empowering Your Practice with Biomechanics
The journey of yoga is one of self-discovery and continuous learning. By integrating the principles of biomechanics into your practice, you gain a powerful tool for self-care and longevity. Understanding the intricate workings of your body in poses like Downward-Facing Dog, Warrior II, Triangle, Chaturanga, and Cobra not only prevents injuries but also deepens your connection to each movement.
Remember, the goal isn’t to achieve a perfect pose, but to find the perfect pose for your body on any given day. This nuanced approach, steeped in the wisdom of Yoga Biomechanics Injury Prevention, allows for a truly sustainable, enjoyable, and transformative yoga practice. So, step onto your mat with confidence, knowledge, and a commitment to moving intelligently.
What are your thoughts on integrating biomechanics into your yoga practice? Share your experiences and insights in the comments below!


